
Materials:
- Polymer clay in assorted colors
- Pasta maker


I first started with a design. I just quickly draw my idea in pencil on the paper tablecloth! I also sort of did it to size, just to keep my references. I made a sleigh with the 4 of us and out cat on it as well as a bag of presents.
First I conditioned the clay by passing it a few times through the wider setting of the pasta maker. I then made two sheets of clay one red and one blue and with an exacto knife cut the shapes of the sleigh and the bag. I put them both together and gently pressed so they stick together. I made little balls of dark blue and rolled them into the bag to give it design.

Do the skis with white (cut to shape with the exacto) and attached to the bottom. I then made a rope for the bag and a border for the sleigh. I got some yellow clay and roll it to make a thing roll. I did the same with blue. With the yellow only, I gently pressed it to the edges of the sleigh making a little spiral into the sides of the sleigh. I then made small marks with a knife to give it texture.

To make the rope, I twisted the blue and the yellow rolls together, this will make the rope for you. The more you twist the tighter it gets.

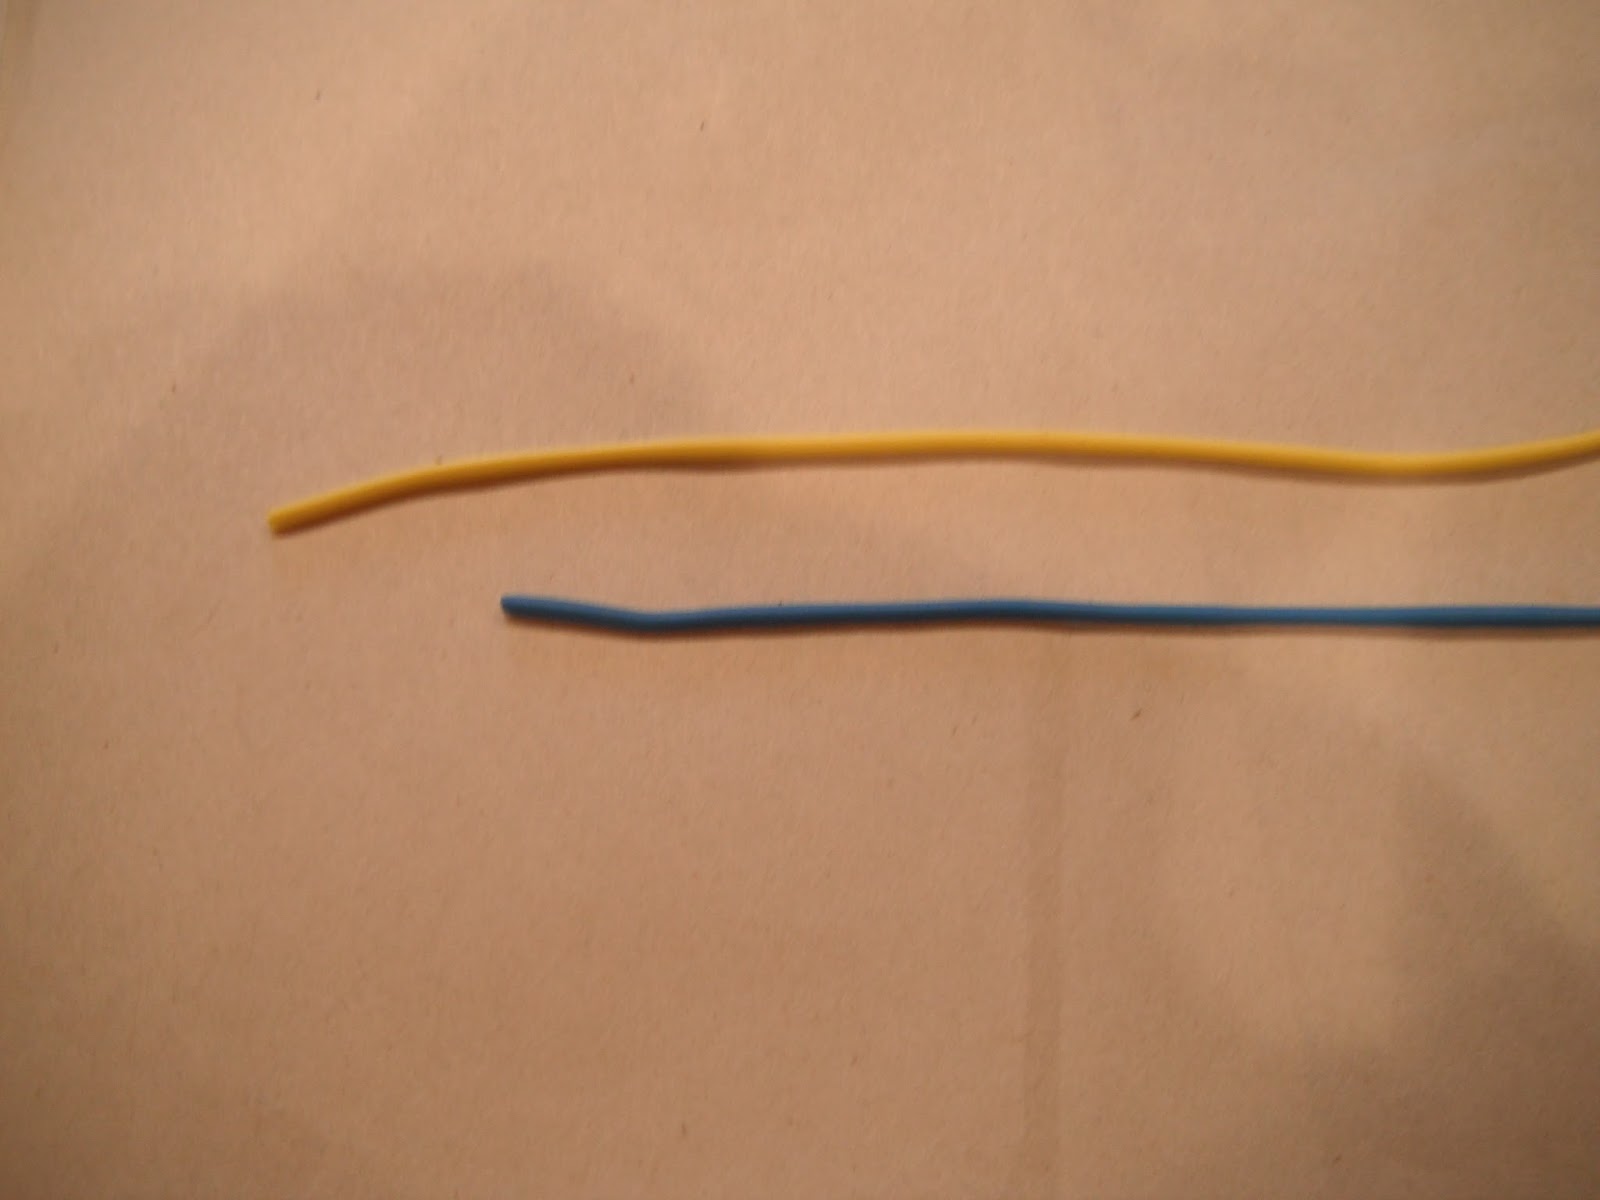


To finish the sleigh I wanted tout some candy swirls about. I order to do that I needed to build a complex roll. I first made two sheets with the pasta maker, one blue and one yellow. I also made little red roll to be the center of my complex roll. I put one f the sheets on top of the other, leaving a small space without overlap to put my red roll. Press the 2 sheets together gently with a rolling pin and roll the sheets. Once it is rolled. You will put it on the table and continue to roll back and forth, moving the clay slowly until the roll is thinner.

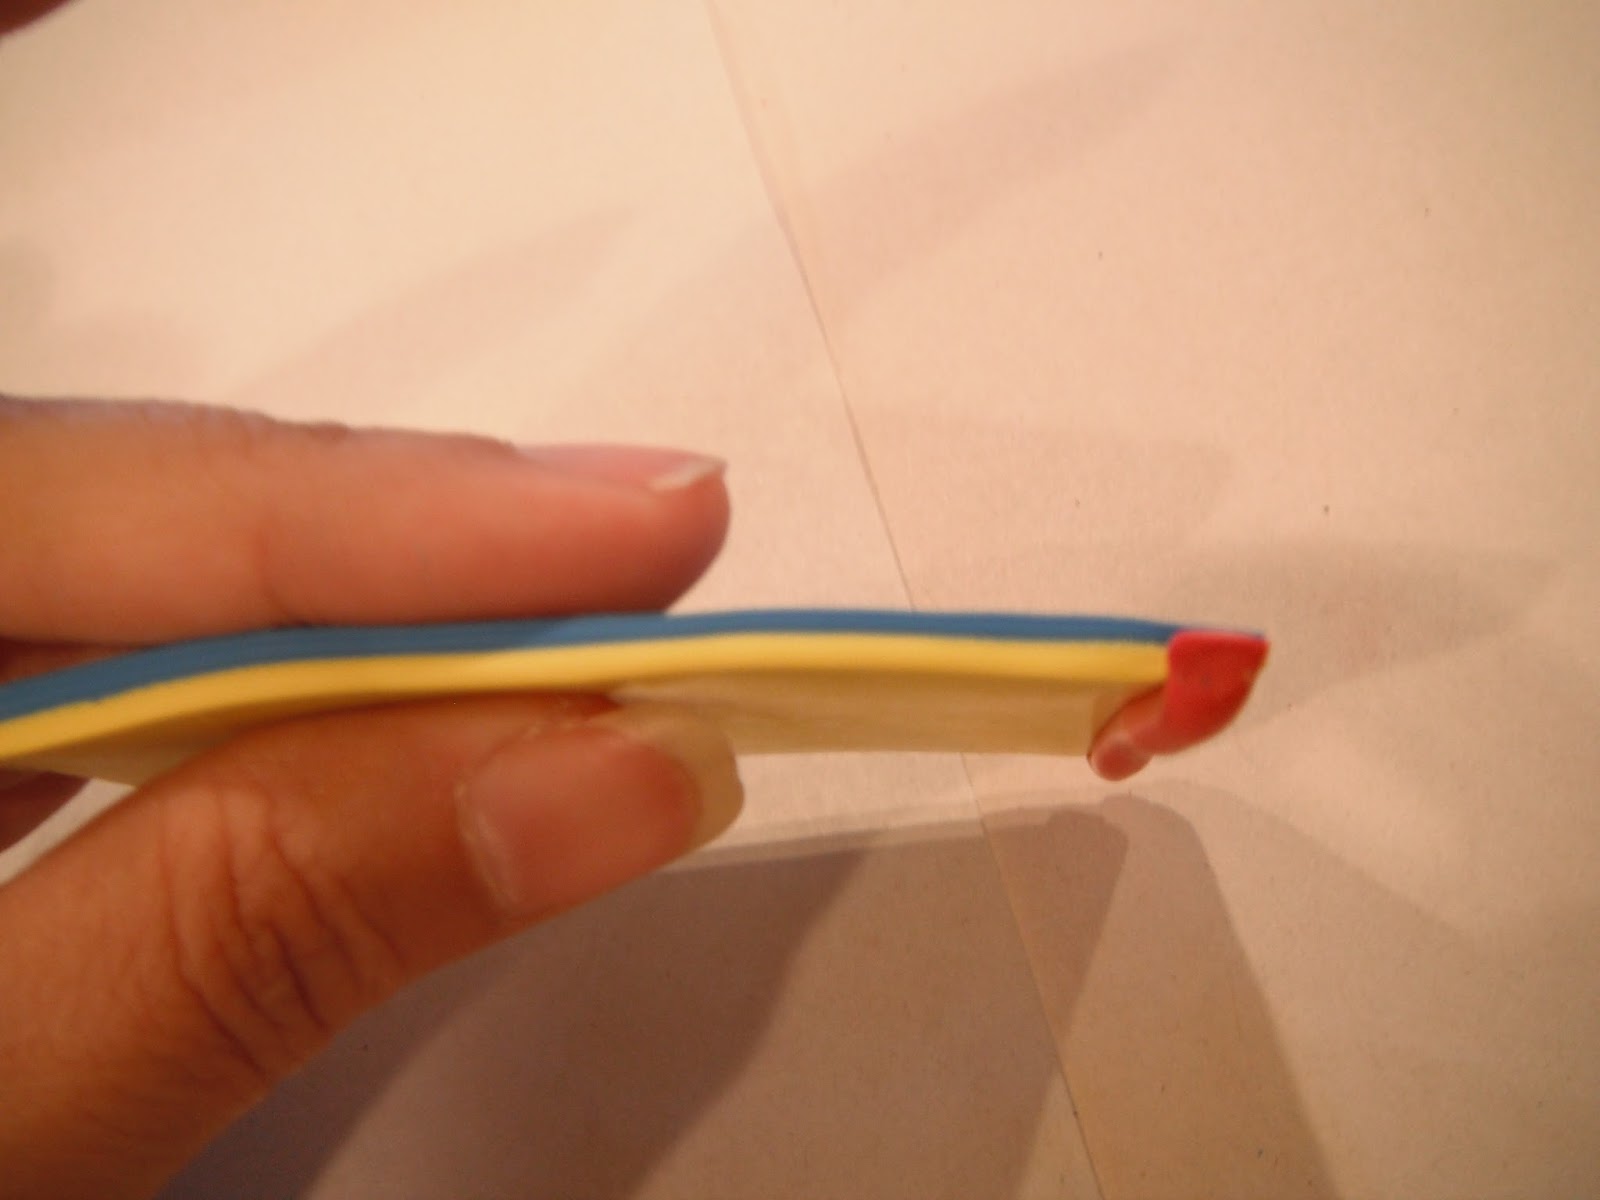


When you reach your desire thickness, let the roll rest for a few minutes so the clay is not too soft and with a sharp knife and a back and forth chopping motion, cut rings of 1/4 inch each. I then flattened a few to put on my sleigh the rest I made into beads for some bracelets for my daughter.


Then I made the faces. with skin color, I made 4 balls, 2 slightly bigger than the other 2. Take each ball and shape then like an egg and with a clay tool, make two indentations for the eyes, roll a small piece of clay for the nose and mark the mouth. Roll 2 white balls and press into the eye indentations and top with 2 smaller balls of the eye color of your choosing. I need 2 browns, 1 hazelnut and 1 blueish-green sets of eyes! Press the faces on the sleigh.

Time to do hair. I used a clay press to make small pieces of brown hair. Place them one by one on the heads. You can customize the length and style. I then added Santa's hats. From a red sheet of clay, cut triangles, press a white band at the bottom if the triangle and then put the hat in place on top of the heads. Top it up with a white ball on the top of each hat.


Finally make the cat, with two balls of grey and small roles for legs. Do the eyes as you did for the heads and use 2 small balls for the cheeks.

Put the cat on the ski by pressing gently.
Now you are ready to bake it. Preheat the oven at 275F and follow the instructions on the package of the clay - this is important a all clay are different and require different times. Put your piece on a piece of wax paper on a tray and bake.


Once it is baked, let it dry and apply a clear glaze. Let it dry and you are done!!


wow thatt is really cool...i will def have to do some next year. thanks
ReplyDeleteQué lindooo!!, nunca he trabajado ese material, te quedó hermoso como todo lo q haces!
ReplyDelete